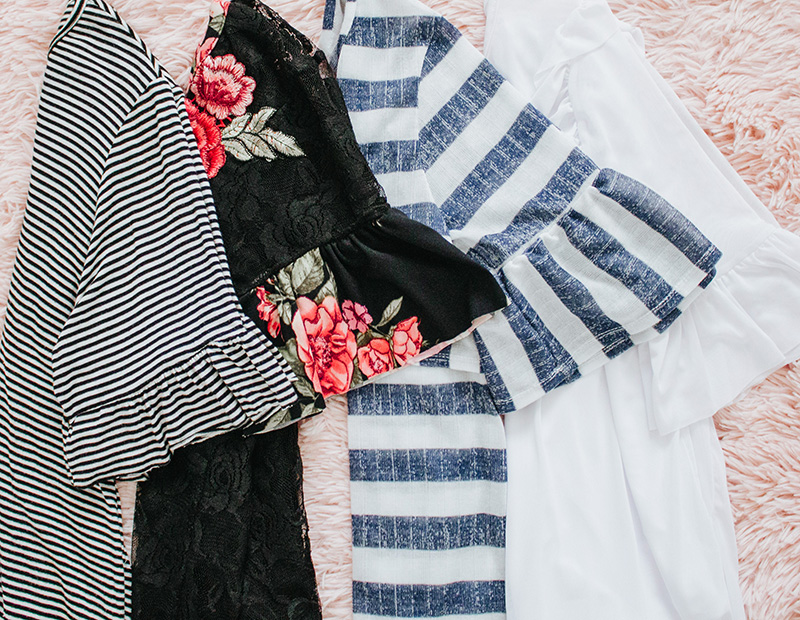
Lately, I've been obsessed with ruffled or bell sleeves. I've seen these sleeves being called both ruffled and bell sleeves, so I just included both names in my post. Personally, I use both names interchangeably. I believe the difference is that if the ruffle is longer, the sleeve will be considered a bell sleeve, versus if the ruffle is shorter, it's just called a "ruffled sleeve." BUT, I have also heard of this flounce sleeve being called a bell sleeve. (So many names!)
For the purpose of these tutorials, this is what I'm calling them:
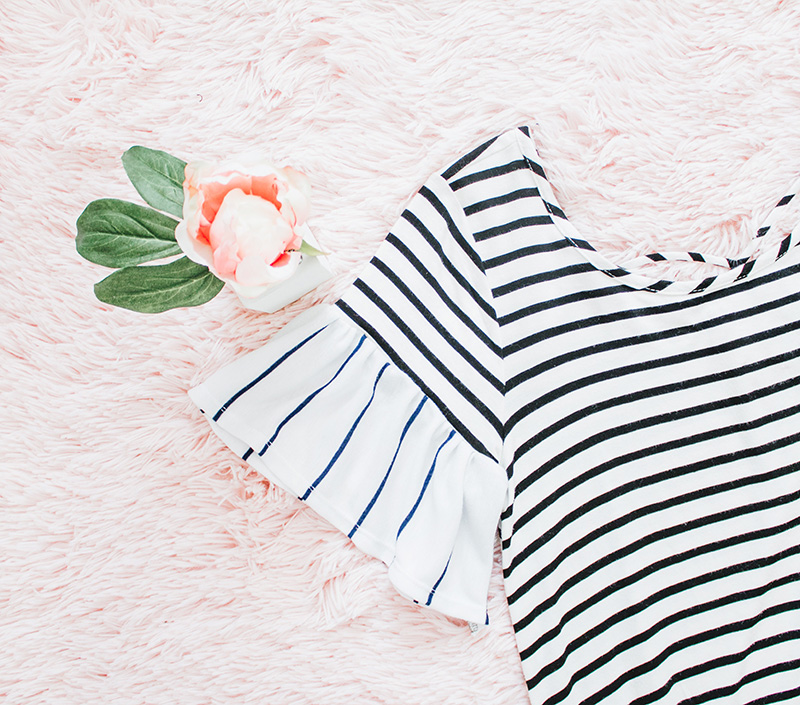
Ruffle Bell Sleeve: Like the one in this tutorial. This is basically a rectangle that is sewed closed and ruffled up.
Flounce Bell Sleeve: Like the one in this tutorial. This is what I call a circle ruffle. It is literally cut like a mini circle skirt.
If you'd like to add a ruffle or two to your closet, it's really easy to do so. In addition to ruffles, I also love stripes, so I decided to play around with some stripes when I refashioned this ruffle dress. When making these ruffled bell sleeves These sleeves add just the right amount of flair to any outfit, no matter what your style is. :)
If you'd like to add flounces to your sleeves instead, check out this tutorial.
STEPS:
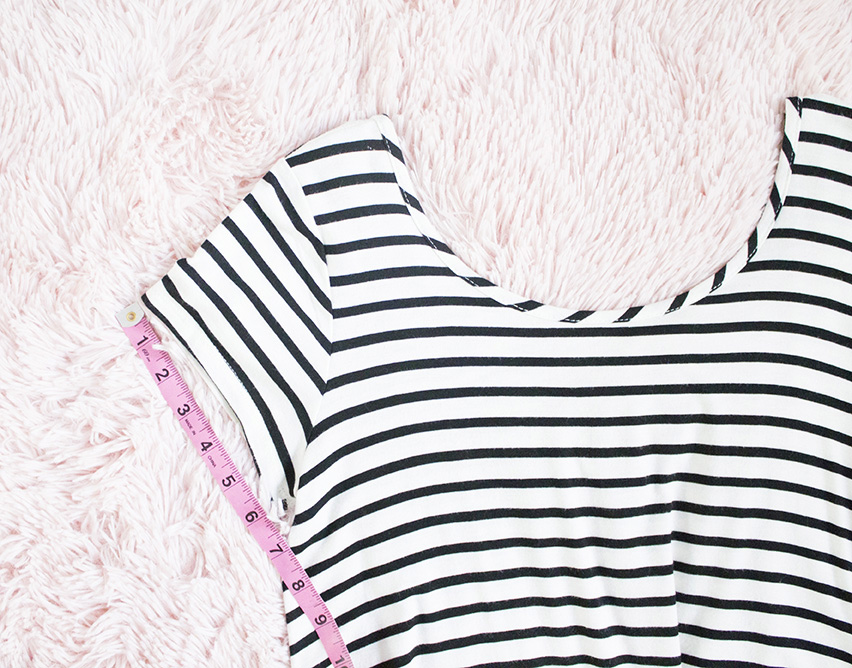
1. Measure your sleeve opening.
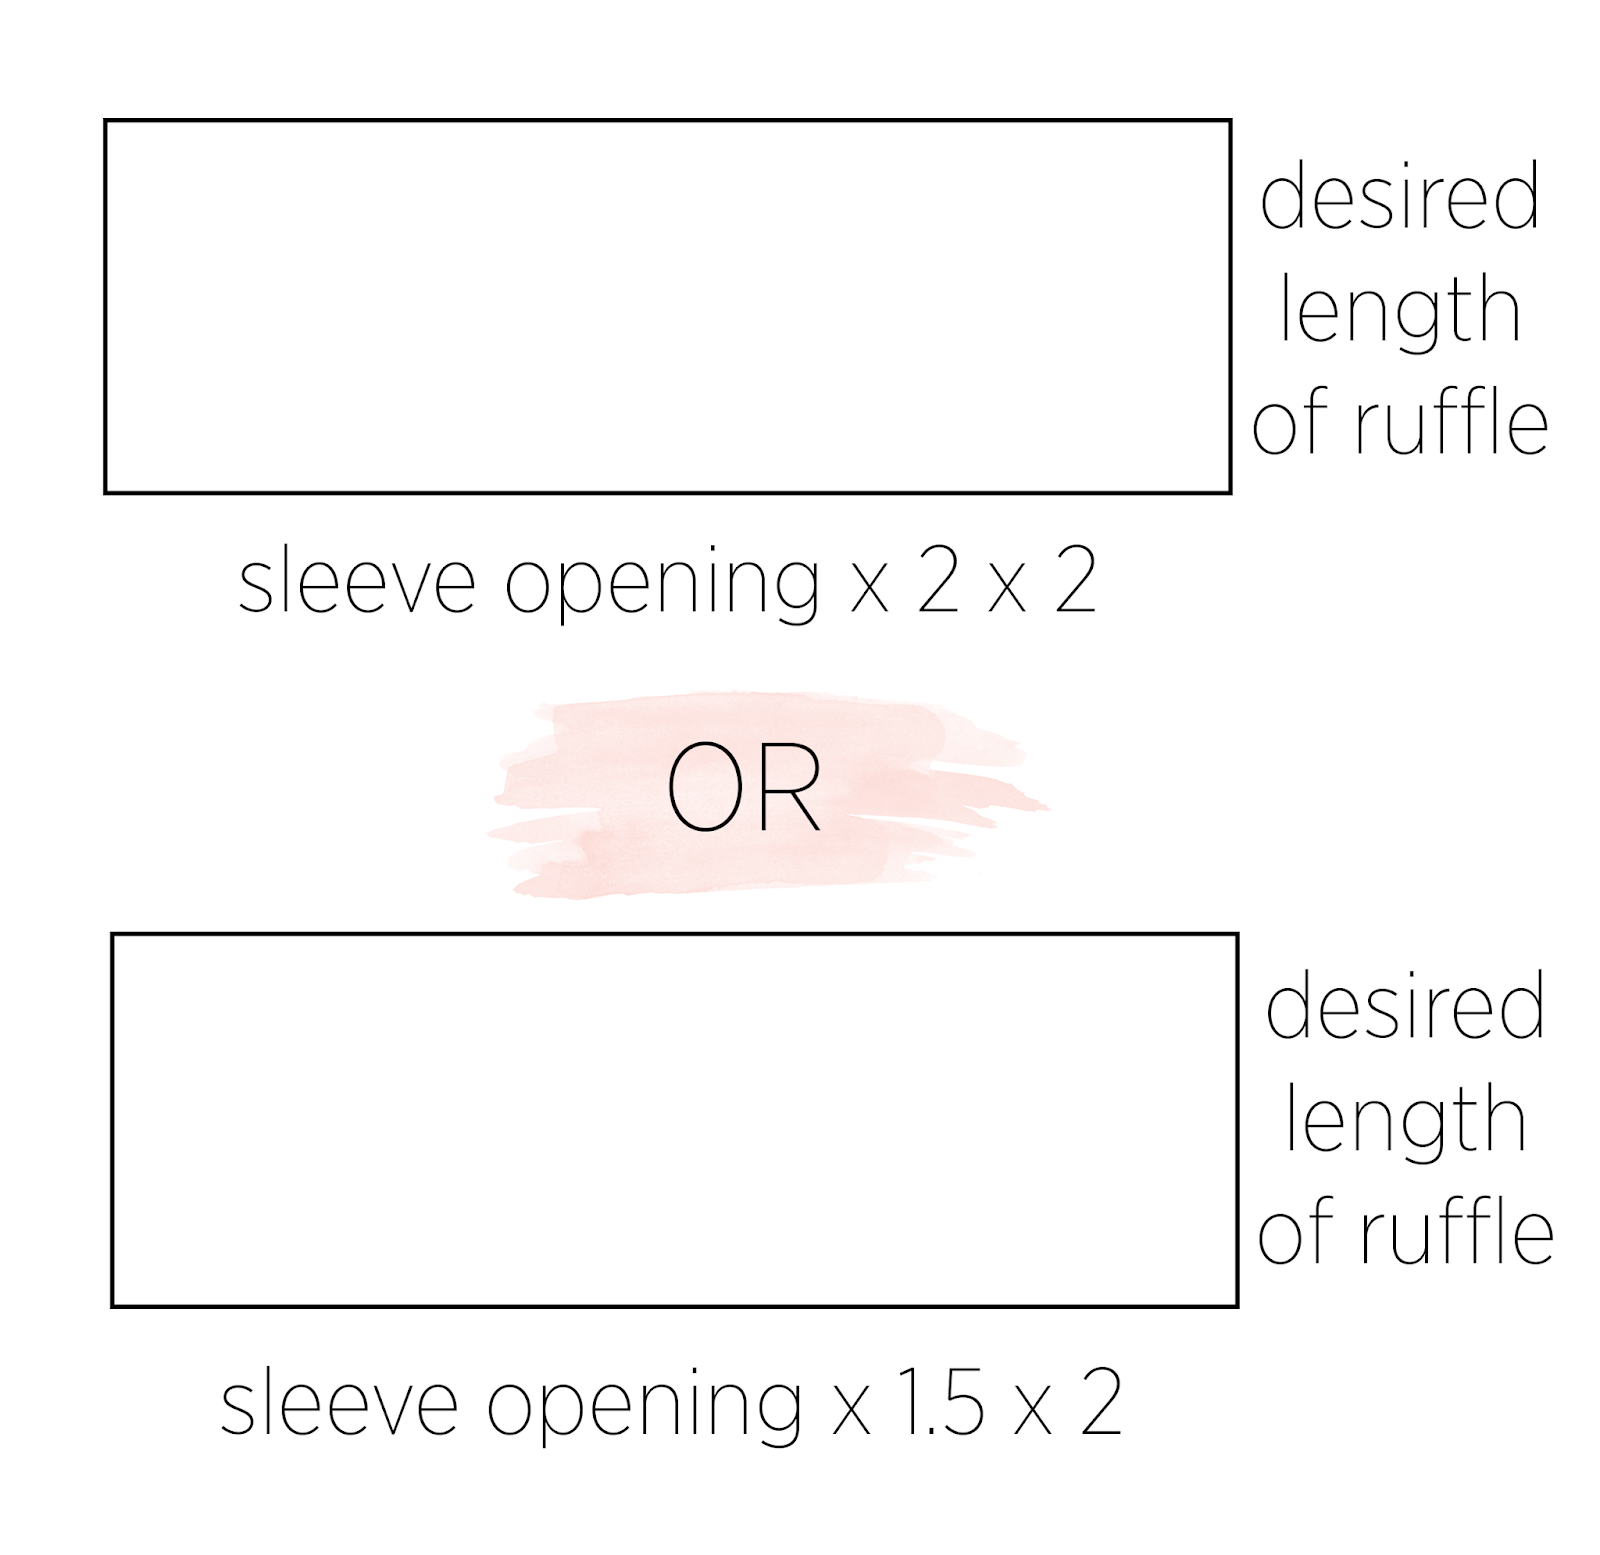
2. This is how you will cut out your ruffles:
If you want your sleeves to be more gathered, or "ruffled," choose the first option.
If you want a little less gathers in your sleeves, choose the second option.
For this particular refashion, my sleeve opening was 7" and I wanted a good amount of gathering, so I chose the first option. (7 x 2 = 14 x 2 = 28")
The desired length is up to you. Don't forget to add in some seam allowance if you're going to hem your ruffle. I left the lace floral top unhemmed and I hemmed the blue striped top. (Pictured in the first photo of this post) So, it's completely up to you!
For this striped dress, I wanted 5" ruffles and I added 1" for seam allowance and hemming.
3. After cutting out your ruffle rectangles, sew the rectangle closed by placing right sides facing together.
At this point, I like to hem my rectangles, because I find it easier than waiting until the end.
Then, sew a gathering stitch along the top.
4. Gather your ruffle until it fits your sleeve opening.
5. Pin and sew your ruffle, right sides facing together.
If you haven't hemmed your sleeves, now is the time to do so.
That's it! You have some new awesome ruffles! :)


Please explain how to adjust for long sleeves preferred by older woman. Great thanks
ReplyDeleteI love this amazing suits because it is entirely up to you to determine the appropriate length. If you're going to hem your ruffle, don't forget Buy Custom Dissertation Chapter Service include some seam allowance. The lace floral top was left unhemmed, whereas the blue striped top was hemmed.
ReplyDeleteDigitize A Logo For Embroidery said...
ReplyDeleteYour DIY Ruffle Bell Sleeve Refashion is an absolute gem for fashion enthusiasts. The creative touch and transformation of a regular garment into a stylish ruffled masterpiece are truly inspiring. This project not only adds a unique flair to your wardrobe but also encourages others to unleash their creativity. Well done!
Refashion ruffle bell sleeves is a creative way to make the dress in a unique way. Choosing lightweight and contrasting fabric to create stylish look, on the other hand learn with university education benefit society is amazingly describe and also enjoy stylish with elegant ruffle bell sleeves.
ReplyDeleteThe DIY ruffle bell sleeve refashion adds a chic, feminine touch to any outfit. It's an easy way to transform a plain top into something stylish and trendy. The flowy sleeves create a playful, elegant look perfect for casual or dressy occasions.
ReplyDeleteEmbroidery Digitizing Blog